Drip Edge Flashing
There is much more to a roof than many people realise. The visible tiles or shingles and the underlying support structure may be the bulk of what makes up your roof, but there is so much more going on that is important to a healthy property, and one of those things is flashing.
Flashing is used in many places around the roof, such as protecting the edges where a roof meets another surface in order to prevent rainwater from getting into the building through that junction. One example of flashing is a drip edge, and it is a crucial component in any building with timber-framed roofing.
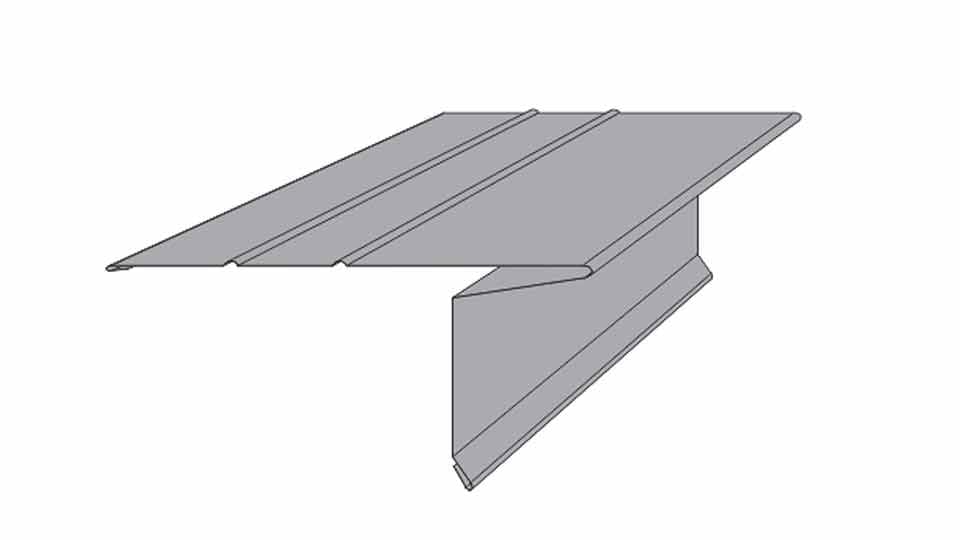
Drip edging is a kind of flashing that sits at the edge of the roof, supporting any overhanging shingles and directing rainwater away from the fascia of the building. As with most things in roofing—and in life—there is more to it than that, so if you want to learn more about what drip edge is and why you need it, keep reading.
Sydney Roof Repairs + Installs Commercial & Residential Roofs >
What is a Drip Edge?
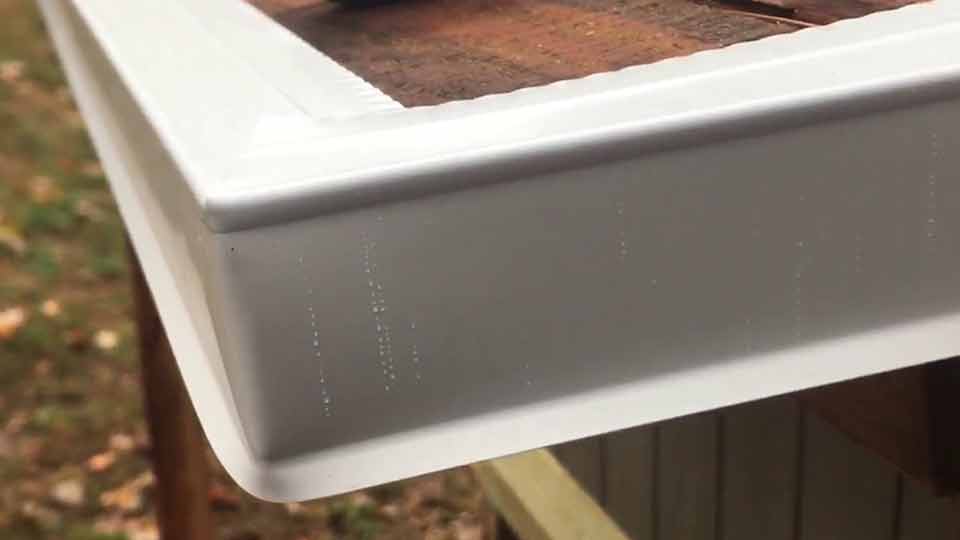
Drip edge sits at the very edges of your roof, underneath your shingles, for the sole reason of keeping water away from your building’s fascia. It is necessary because fascias are often made of wood and wood rots. The fact that it rots can’t be avoided—it is a natural process that will always happen eventually—but continually subjecting it to direct water exposure will speed that process up immensely. It is possible to have non-wooden fasciae, such as PVC or composite, but even these will develop unsightly staining if they are constantly exposed to water drippage.
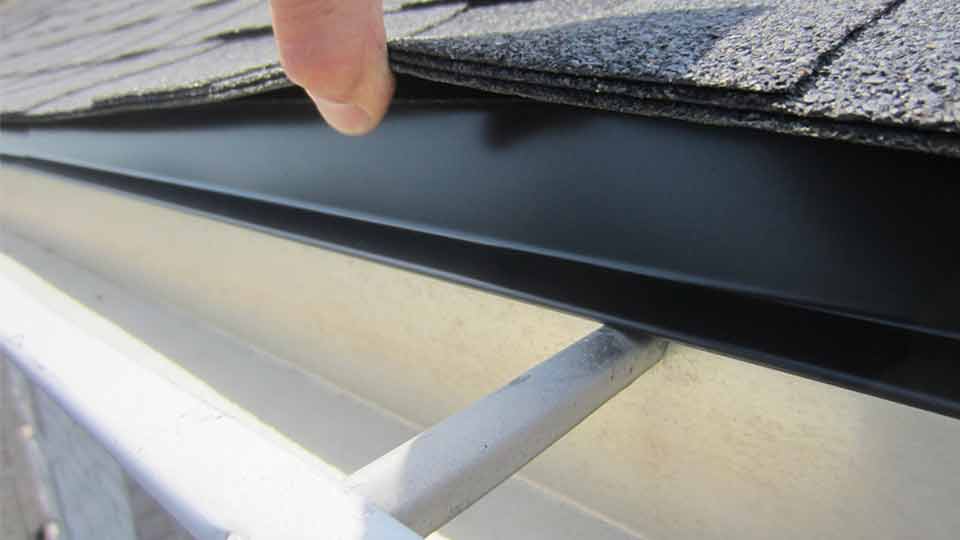
Drip edge achieves its goal by protruding slightly from the edge of the roof. This means that any water reaching the edge of the roof will go over the edge past the fascia, where it will fall harmlessly into the guttering. Without drip edge, the water would go over the edge of the roof and run down the fascia which, as we’ve established, is not a good thing.
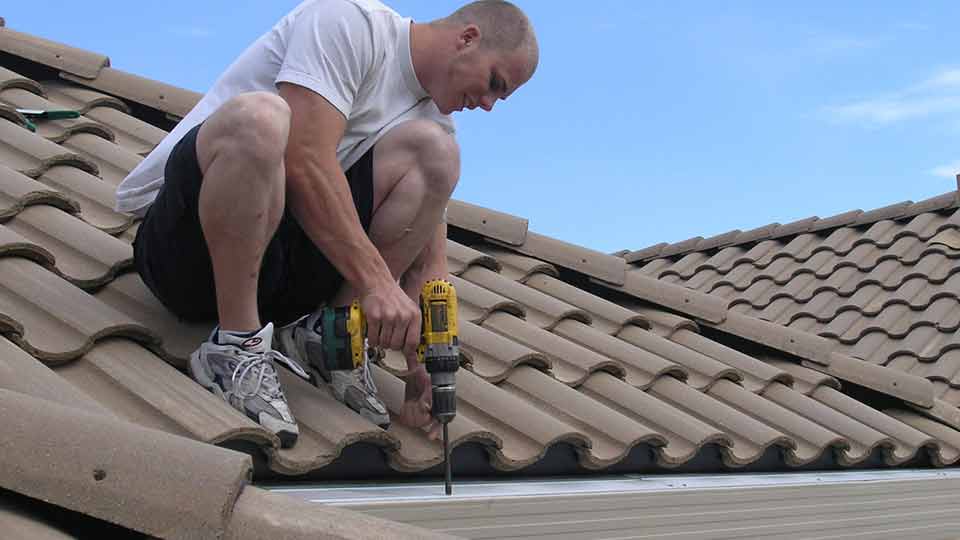
Drip edge is not typically visible, with the shingles or roof tiles covering the top part of the flashing, and the guttering covering the bottom part. The fact that it sits underneath the shingles or roof tiles means that drip edge must be installed before the shingles, which in turn means it is most practical to install drip edge when a roof is first constructed, or when it has been mostly dismantled for repair or renovation. The interlocking nature of roof tiles and shingles makes installing drip edge on a roof that has already been constructed problematic, but not impossible.
For new builds, it is extremely unlikely that drip edge would not be installed. Indeed, many authorities now deem it a legal requirement that drip edge is installed when a new roof is constructed.
Different Styles of Drip Edge
There are multiple styles of drip edge to suit different situations. Your roofing contractor will be able to determine the best style of drip edge to use in any given area of your roof, but in case you are curious, here are the different types, as well as their use cases.
C-Style Drip Edge
The distinguishing factor about C-style drip edge is the curved bend (a little like a C, in fact) on the material that is installed under the shingles or roof tiles. This curve runs around and under the decking of the roof to prevent water from seeping into said decking. This kind of drip edge is often used on roofs that do not have fascia boards.
L-Style Drip Edge
The simplest of drip edge styles, L-style is a plain L shaped flashing that has one side of the L under the shingles or roof tiles, and the other side running parallel with the fascia.
T-Style Drip Edge
T-style drip edge is the most effective of the different styles. But, as a result, it is also more complicated. The design involves the flashing protruding out beyond the roof deck, where it is then bent back towards the building to form a triangular shape. This helps to move the water farther away from the roof before it falls over the edge, reducing the risk of it finding its way onto the fascia.
Consequences of No Drip Edge
As we mentioned above, many authorities have made it a matter of regulation to have drip edge installed on new roof builds, but should you live in an area that doesn’t have such a requirement, or you decide to flout the local building regulations regardless, what might happen?
Though nothing immediate would happen, if left for long enough, you would start to see staining of the fascia or side of your building. This in and of itself is unsightly, but nothing too serious. At this stage, you can always clean away the consequences of your lack of drip edge.
If you have PVC or composite fascia, that might be as far as it goes. However, many homes have wooden fascia and even the ones that don’t have timber framing behind the fascia. Over time, the water that is leaking down your property will cause rot in these wooden components, which can be very difficult to stop once it has taken hold. Of course, anything structural cannot be allowed to rot, but replacing structural parts of a roof is very difficult, and quite expensive. Fascia boards are not quite as severe in terms of labour and cost, but replacing them is still an involved task that means having a professional spending some time up a ladder.
In Summary
The basic role of drip edge is a simple one; divert the rainwater that is flowing over the edge of a roof far enough beyond the edge that it misses the sides of the building below. Ideally, drip edge would be paired with appropriately placed guttering, so that the rainwater would be diverted directly into the gutter. Drip edge should be considered an essential part of any roof build, which is why some governments and authorities mandate that it be used.

